It's kind of funny...growing up, my mom was not particularly domestic. And for any of you fearing for my life, relax. She'd be the first to tell you! She was a teacher, the BEST mom, and a terrible cook, horrid seamstress and when it came to gardening she just didn't have the time. As a teacher she spent most of her free time checking papers or planning the next day's lesson and working in lots of snuggle time with her kiddos. She is most known for burning Thanksgiving Dinner (one year she even started the oven on fire with the turkey drippings) and sewing a pair of pants with ONE LEG! So, I didn't inherit any of these abilities from her. But how to be a good mom - that I learned from her. Most importantly - when raising children, she taught me to follow my heart. Love you, Mom!
Anyhoo...back to the pickles. Since I didn't grow up gardening and I had never attempted canning, I turned to one of the women who does it best - my mother-in-law. My husband's parents have gardened for years. They currently raise corn, beans, radishes, potatoes, tomatoes, cucumbers, strawberries, raspberries, apples, cherries and rhubarb to name a few. Their garden is beautifully manicured and provides months of bounty because my mother-in-law spends a good amount of time preserving what they harvest. My first year of gardening, she spent an afternoon with me showing me the ropes of how to can tomatoes. Over the past three years, I've experimented with recipes on my own. The three things I preserve through canning are: pickles, salsa and tomatoes. I'm definitely no expert, but I have learned a few tricks here and there and I'm happy to share. So, without further ado, here's how to make a perfect batch of Katie's Favorite Easy Garlic Dill Pickles!

Here's what you'll need:
8-10 small pickling cucumbers
2 cups white vinegar
2 cups water
2 tablespoons pickling salt
4 heads fresh dill or 4 teaspoons dill seeds
4 small cloves garlic
4 wide mouth quart size canning jars (I prefer wide mouth because it's easier to jam in the cucumbers!)
4 canning lids
4 canning collars
Canning stockpot
A lot of sweat
A lot of patience
It takes FOREVER to bring the canning stockpot to a boil. So, you'll want to start by filling your pot with hot water (or you'll be at this all night) and bring it to a rolling boil over high heat while you prepare your cucumbers. Be sure to leave quite a bit of head room in the pot. Once you add the jars, the water level will rise significantly.


For the cucumbers, begin by washing, but do NOT peel. Then, slice the ends off each cucumber. Oh yes - and be sure you are using cucumbers meant for pickling! A good pickle, not all cucumbers make! This year we planted Pickle Bush. They are making great pickles, but the cucumbers themselves are lousy to eat. So you might want to do some research on the variety of cucumber you want to use.

Once the ends are sliced, decide if you'd like dill pickle spears or slices. It's personal preference and doesn't make any difference in the recipe. I tripled my recipe and decided to make half slices and half spears. For spears, quarter the cucumber lengthwise. If you feel like the slices are too thick, slice them in half lengthwise again. If your spears are too tall for your jars, simply slice a little more off the ends. It's not rocket science, folks. So don't overthink it! For pickle slices - that's right - just slice the cucumber as you would for eating them raw.


Next, you'll want to prepare your jars. As I mentioned, I'm not an expert. And, I can for my own use, not for retail. You will read in a lot of canning books that you should "sanitize" your jars before using them. My sanitizing consists of running them through the dishwasher when I bring them upstairs from our dry storage closet in the basement. If I'm using new jars - I simply rinse them. Do as you will - I'm just sharing my process. :-) A helpful hint: if you are using jars that feel cool to the touch, it's a good idea to soak them in a hot bath before processing them. I've had several jars crack during the boiling process and it's likely because of the extreme temperature changes. There is NOTHING more frustrating than going through the motions of canning, and not having the benefits because of a cracked jar.
Next, it's time to start filling your jars. Before packing your jars with cucumbers, add 1 teaspoon of dill seeds and 1 clove of garlic to each.

Then, pack the jars as much as you can with cucumbers.


Once your jars are full, bring 2 cups vinegar, 2 cups water and 2 tablespoons pickling salt to a boil in a saucepan (I used another stockpot since I tripled the recipe). At this point, you will also want to begin boiling water for your canning lids in a separate saucepan. So here comes the sweat (not to be confused with sweet) part. You now have THREE pans boiling on the stove top, one of which could drown a small family of lobsters. Needless to say - it's gettin' hot in here, so take off all your - ahem, sorry, back to the pickles. Here's a picture of my smokin' hot kitchen!

Once your small saucepan with only water is boiling, place the canning lids, NOT the collars, in the boiling water. This process activates the seal on the lids and allows them to adhere to the jars. It takes a few minutes for this to happen, so make sure you give the lids plenty of time in the boiling water before you begin filling your jars with liquid.

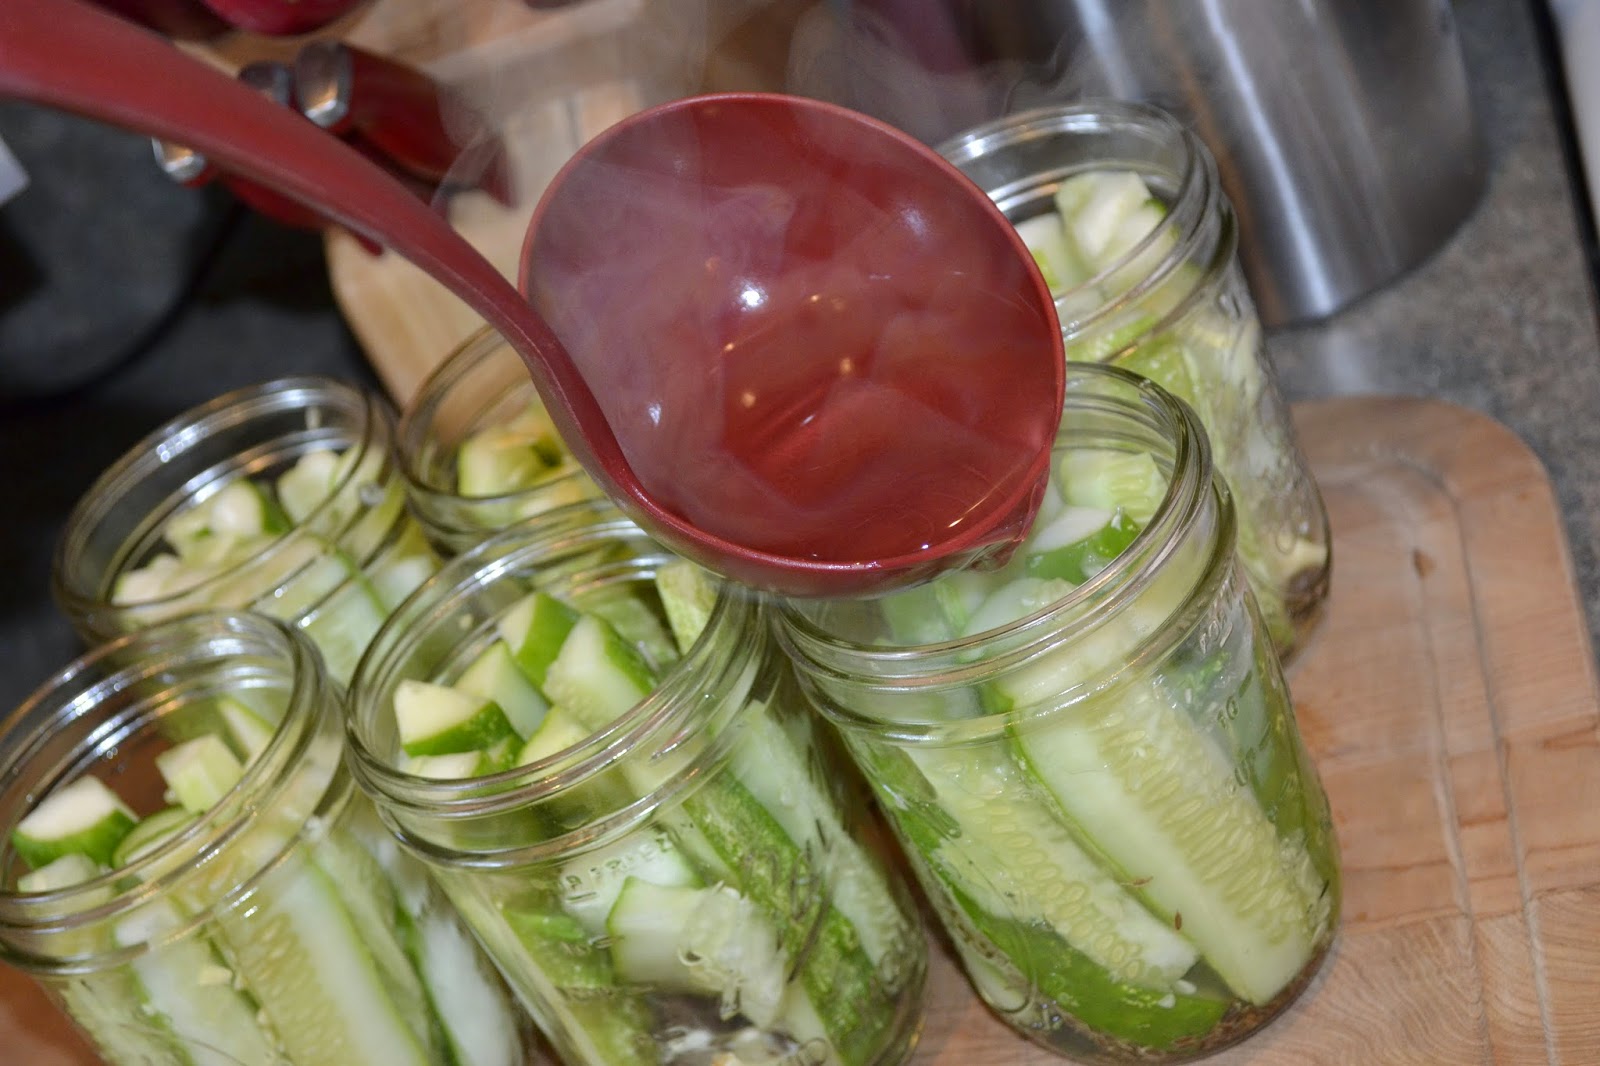
Once the water, vinegar and salt comes to a rolling boil, and your lids are nice and hot, it's time to fill the jars with the liquid mixture. I prefer to line up my jars on a wooden cutting board. Number one, because it catches any liquid I might spill when trying to pour it into the jars. Number two, the liquid is HOT and it saves my counter from any burn marks. I use a soup ladle to spoon the liquid into the jars. It holds exactly the right amount of liquid for one pint jar and it keeps the mess to a minimum.
Once all of the jars are full, wipe the rim of each jar with a clean, wet dishtowel. If there is any residue on the rim of the jar, there is a chance the lids will not seal, meaning your pickles will not be preserved. It's not the end of the world, it just means you're going to have to eat a lot of pickles in the next few days before they spoil.

After wiping each rim, remove the lids from the boiling water one at a time with tongs, place on a jar, and seal with a collar. Once each jar has a lid secured tightly with a collar, it's time to start processing. If you are using a true canning pot, it should have come with a wire basket that holds the jars. Place one jar in each opening, lower the basket into the boiling water, and fold the basket handles over the jars. When lowering the basket of jars, be careful to watch that the water doesn't spill over the pot. Again, the jars will raise the water level significantly, so it's easy to send water cascading over the side of the pot. You'll want the jars to be just covered with water once they are lowered into the pot. Finally, cover the pot with the lid, and process accordingly.
For pint jars: Process 10 minutes
For quart jars: Process 15 minutes
Another helpful hint: once the lid is placed on the pot, the boiling can get pretty intense. Be sure to monitor your pot so it doesn't boil over. You may have to adjust the heat on your burner accordingly.

Once you have processed your jars for the appropriate time, pull the handles of the basket up out of the water with tongs. At this point, you should be able to grab the handles with pot holders and lift the basket out of the water. As you can see from the picture above, the basket handles should rest on the sides of your canning pot. Left each jar out of the basket with jar tongs.

If you don't have jar tongs it's fine to use pot holders. I have found, however, that jar tongs are worth their investment. The jars are very hot, wet and slippery when you take them out. The hot water can soak through the pot holders, and the jar tongs have a rubber coating which minimizes slipping. Again - there is nothing worse than losing an afternoon's work to broken jars. I'll say it again...buy the jar tongs! They're pretty inexpensive. A few bucks at most. I have found, by the way, that Blain's Farm & Fleet is the best resource for canning supplies!
Once you have removed your jars from the canning pot, you'll want to place them in a spot where they won't be disturbed until the lids seal. My trusty wooden cutting board comes in handy for this step once again. The jars are hot, so again, the cutting board protects my counters. It also allows me to move the jars from one area of the counter to another without having to use a pot holder and without disturbing the jars too much. Over the next couple of hours, you will marvel in the sound of popping aluminum as your lids seal. When the jar lid pops, it means it is vacuum sealed and your pickles are preserved for several months. You can also test each lid by gently pressing on the center. If you hear the lid pop over and over it means it didn't seal properly or needs a little more time to properly seal.
And there you have it - Katie's Favorite Easy Garlic Dill Pickles! They're oh-so-yummy and the best part is you can shelve them well into the winter. When the ground is cold and the snow is flying, it's so nice to enjoy the freshness of your garden from months before!
Bon appétit! Enjoy!!!
